In the realm of 3D printing, creating highly precise and detailed objects is remarkable. However, the ability to produce transparent parts takes it a step further. In SLA (Stereolithography) 3D printing, clear resins play a crucial role in achieving this transparency. This article delves into the details of clear resins for SLA 3D printing, covering their types, selection, printing best practices, post-processing, troubleshooting, real-world applications, sustainability, and future prospects.
What Are Clear Resins?
Understanding Clear Resins
Clear resins are photosensitive materials formulated for SLA 3D printing. They cure under UV light like standard resins but are designed to maintain transparency. Their clarity depends on factors such as print settings, post-processing, and material formulation. Photosensitive molecules in the resin react to UV light, solidifying it layer by layer. The resin’s viscosity is critical; thinner resins generally yield better clarity.
Types of Clear Resins
There are several types of clear resins, each with distinct characteristics and applications:

- Standard Clear Resin: Offers good clarity, is easy to print with, and requires minimal post-processing. Suitable for prototypes, artistic pieces, and non-functional decorative items.
- High-Resolution Clear Resin: Provides superior transparency, a smoother surface finish, and high detail. Ideal for optical prototypes and highly detailed models.
- Tough Clear Resin: Durable and impact-resistant, though slightly less transparent. Used for functional parts and engineering prototypes.
- Castable Clear Resin: Designed for high detail and casting, with slightly lower clarity than standard clear resins. Applicable in jewelry and metal casting.
Clear Resins vs. Other SLA Resins

Clear resins differ from standard SLA resins in several aspects:
- Transparency: Clear resins allow light to pass through with minimal distortion, while standard resins block or absorb light.
- Surface Finish: Clear resins, especially high-resolution ones, offer a smoother finish compared to standard resins that may leave more noticeable layer lines.
- Strength and Durability: Some clear resins, like tough clear resins, are developed for functional parts and are more durable than traditional opaque resins.
- Print Complexity: Printing with clear resins can be more challenging due to their light sensitivity and potential for imperfections.
Benefits of Using Clear Resins

Using clear resins in SLA 3D printing offers multiple advantages:
- High Detail and Precision: Enables high-resolution printing, achieving intricate details and smooth surfaces, crucial for optical parts.
- Aesthetics: Provides a glass-like finish, enhancing the professional look of prints, sought after in jewelry making, product design, and modeling.
- Versatility: Can be used for various applications, from prototypes to optical devices and molds.
- Post-Processing Control: Allows for further enhancement of clarity through techniques like sanding, polishing, and coating.
The Downsides to Clear Resins
Despite their benefits, clear resins have limitations:
- Curing Process Sensitivity: The curing process significantly affects print clarity, requiring careful control of light exposure and curing times.
- Prone to Surface Imperfections: Bubbles or dust particles are more noticeable on clear resin prints and need to be minimized during printing and post-processing.
- Cost: Clear resins, especially high-performance ones, are often more expensive than opaque resins, making them less suitable for large-scale production when transparency isn’t essential.
Selecting the Right Clear Resin for SLA 3D Printing
What Makes a Clear Resin “Right” for Your Project?

When choosing a clear resin, consider the following factors:
- Level of Transparency: Look for resins labeled as clear, ultra-clear, or transparent. Check user reviews and manufacturer photos for real-world results.
- Application-Specific Properties: For optical lenses, prioritize high clarity and low distortion. For functional prototypes, durability and impact resistance may be more important.
- Printer Compatibility: Ensure the resin matches your printer’s specifications, especially the UV wavelength.
- Post-Processing Requirements: Some resins need extensive sanding and polishing, while others offer better initial clarity.
- Cost and Volume: Consider your budget and opt for bulk packaging for large projects.
Popular Clear Resin Options
Here are some popular clear resins and their features:
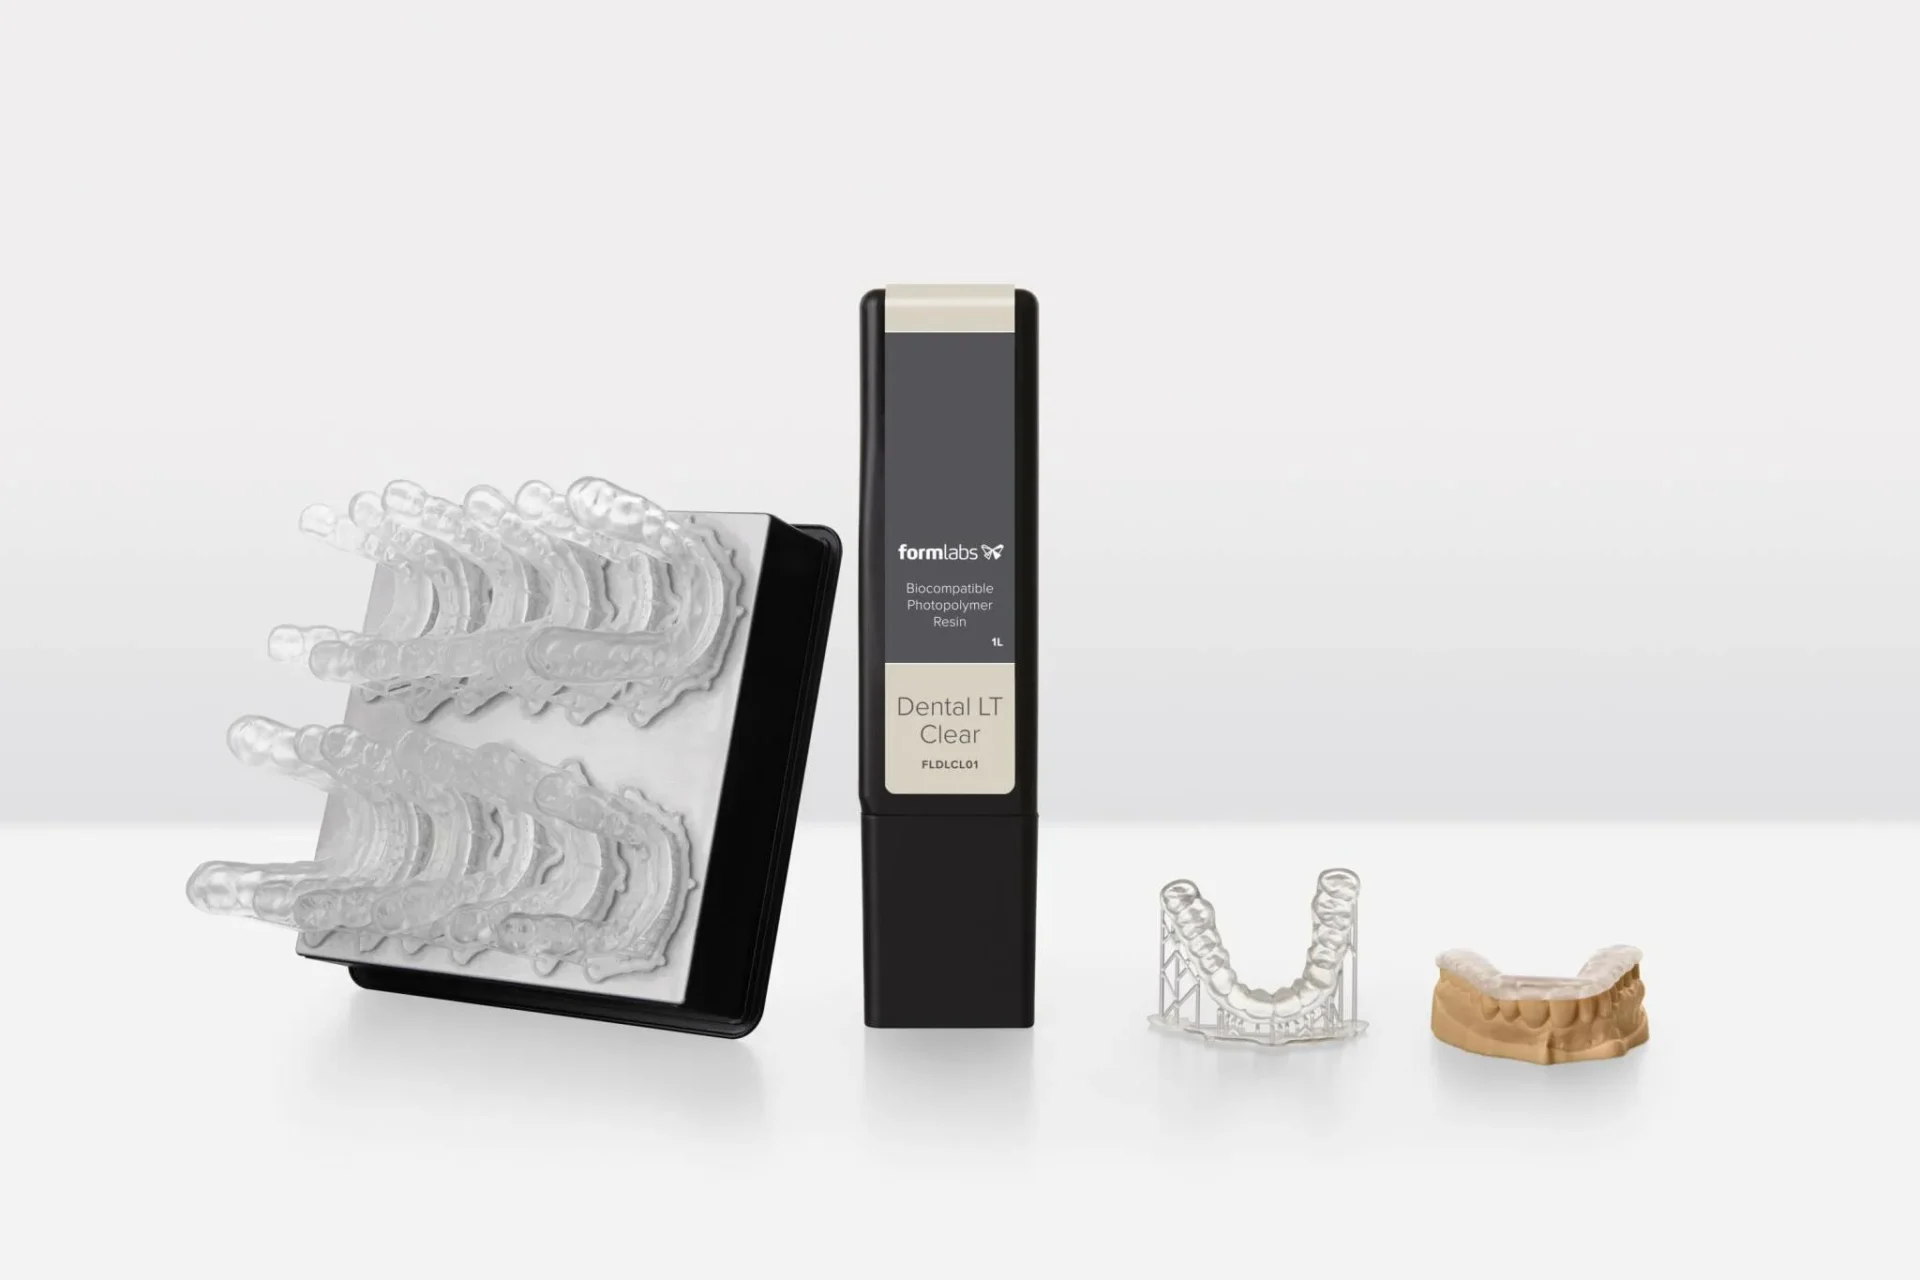
- Formlabs Clear Resin: High clarity, excellent surface finish, and minimal yellowing over time. Suitable for prototypes, optical applications, and displays. Costs approximately $149 per liter.
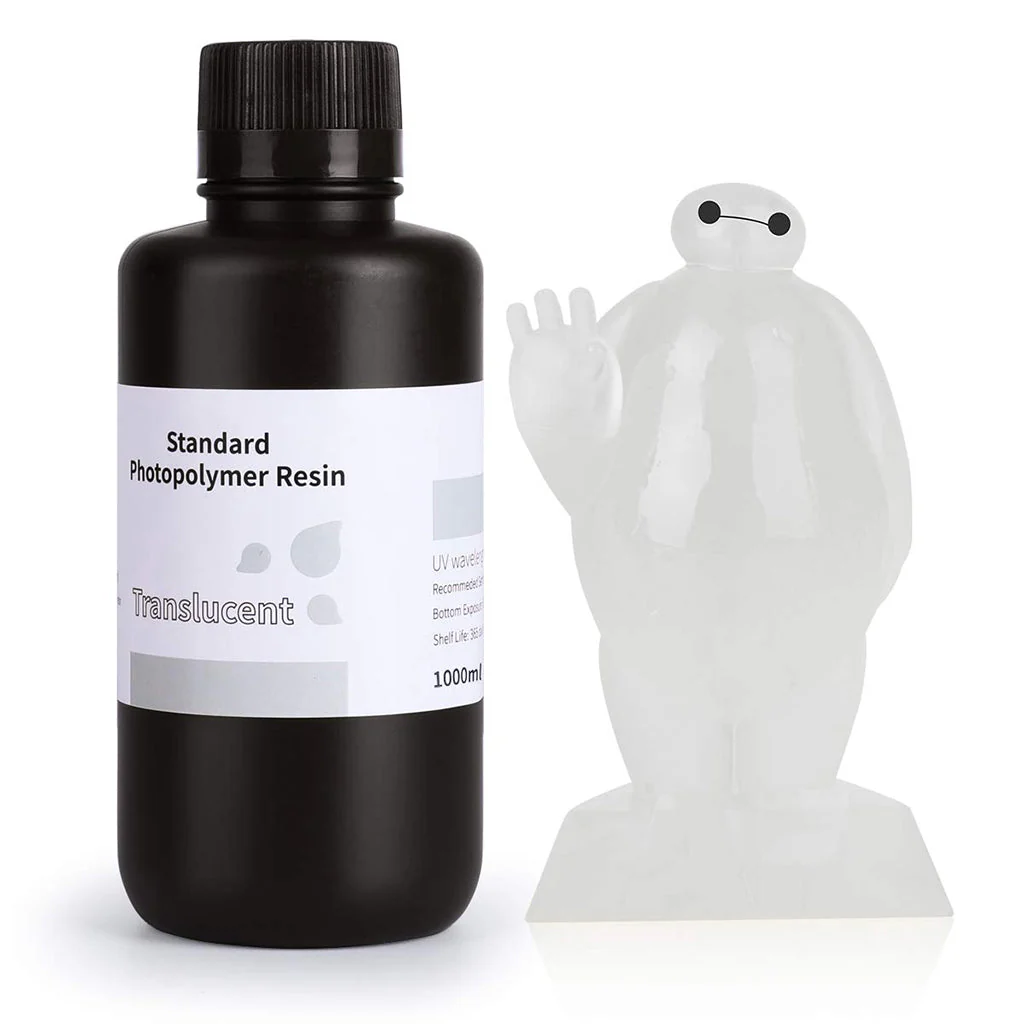
- Elegoo Standard Clear: Affordable, with good transparency and ease of printing. Ideal for general-purpose transparent models. Costs $35 per liter.
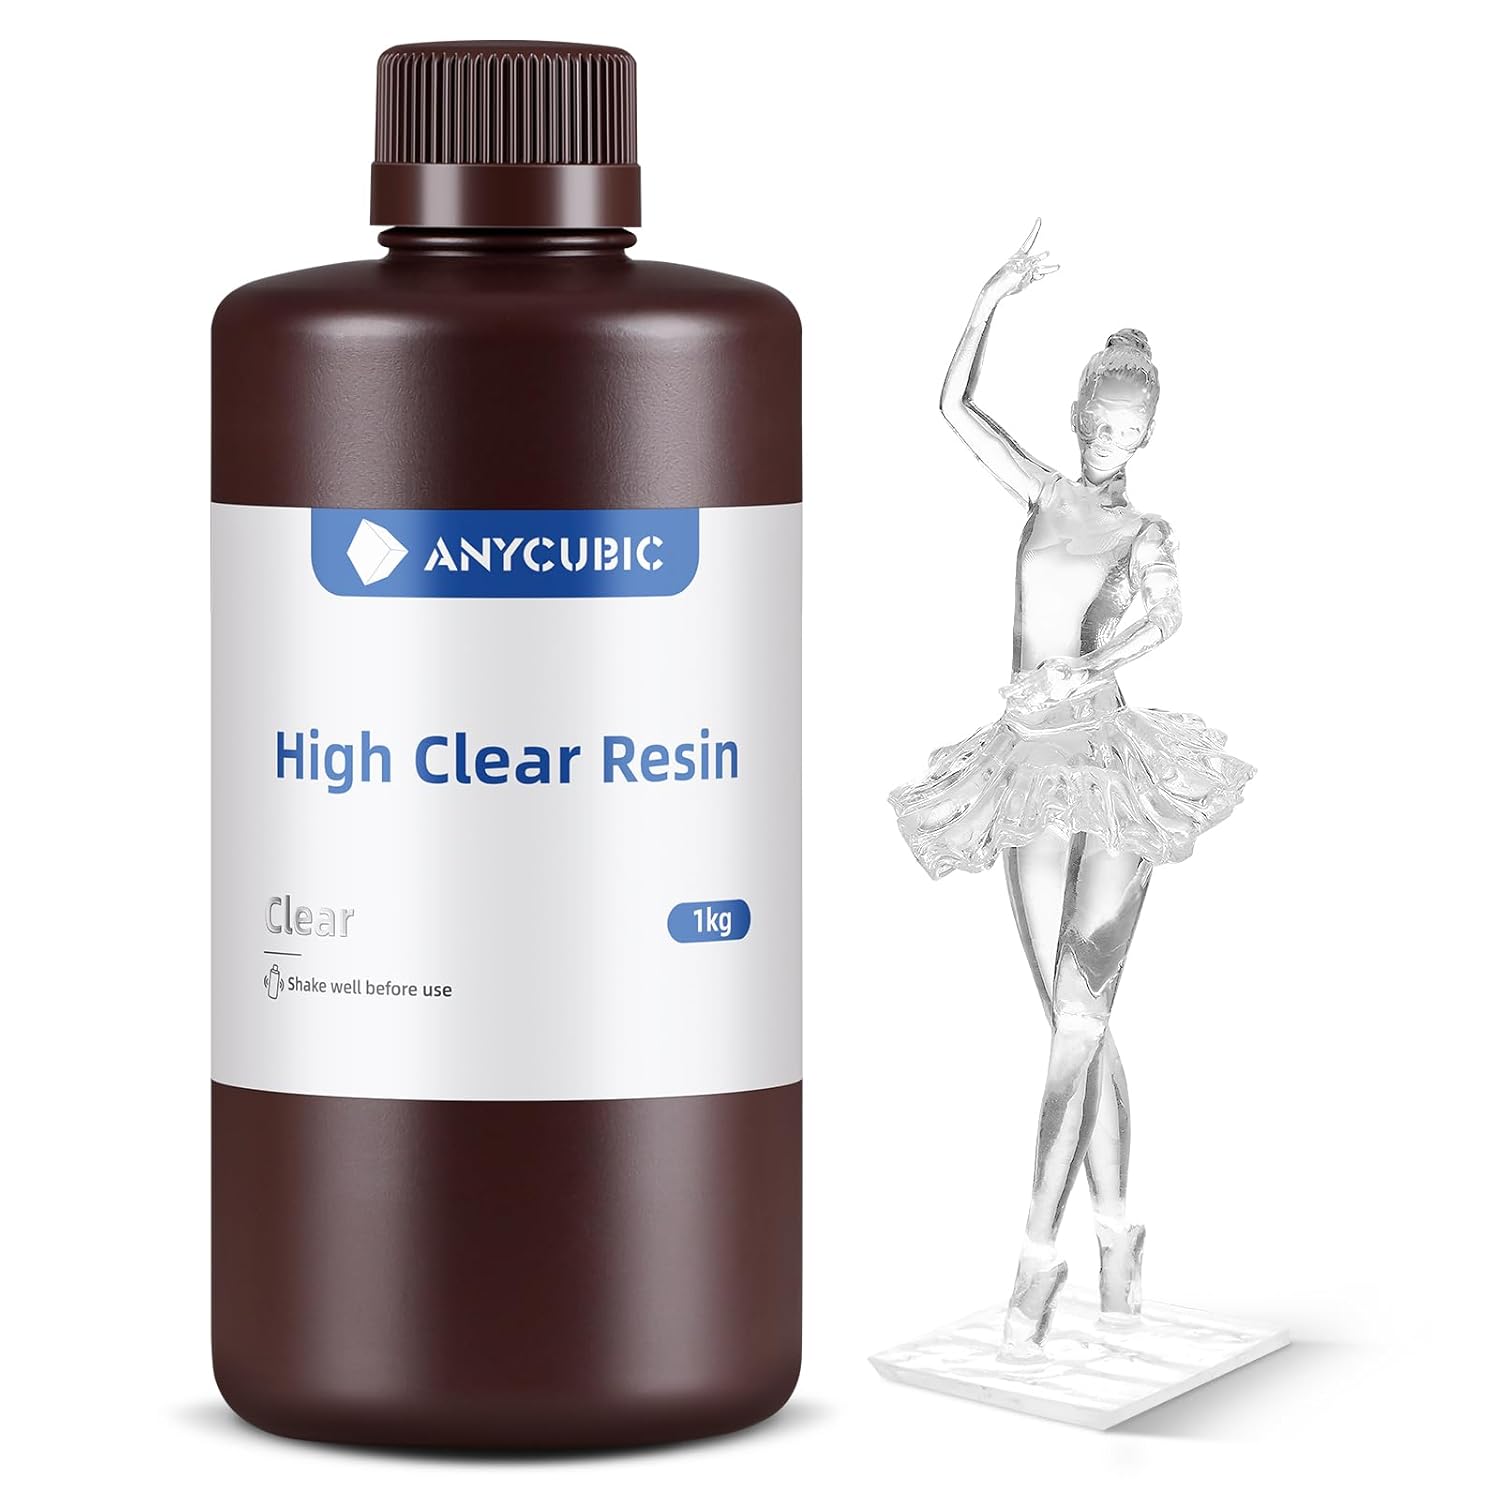
- Anycubic Clear Resin: Good value, decent clarity, and widely available. Used for artistic and decorative objects. Costs $40 per liter.
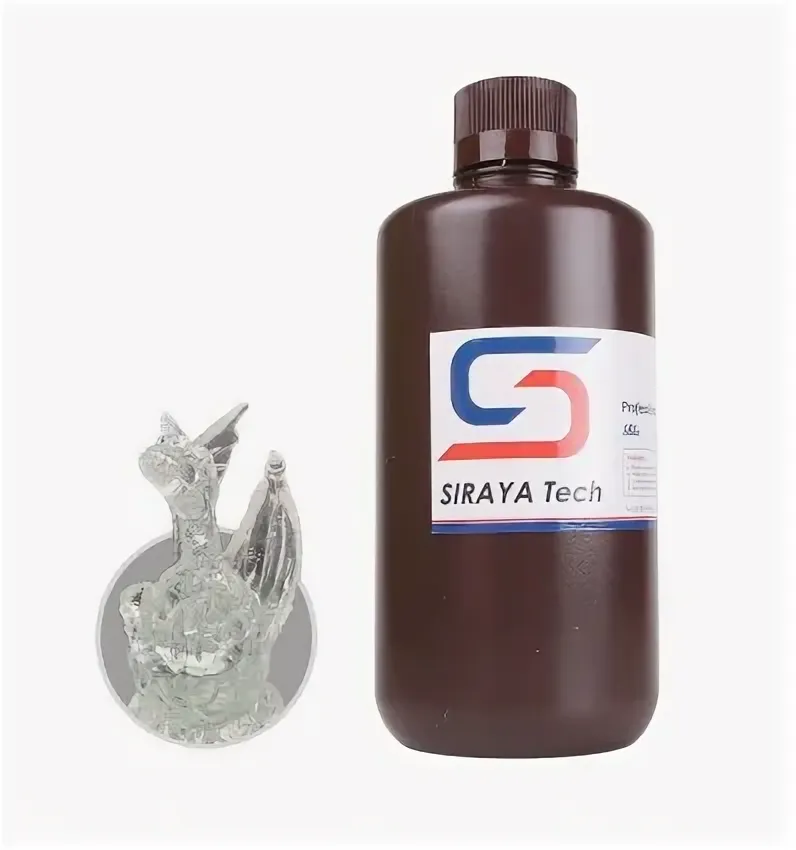
- Siraya Tech Sculpt Ultra Clear: High heat resistance, excellent for functional parts, and low shrinkage. Suitable for functional prototypes and engineering use. Costs $65 per liter.
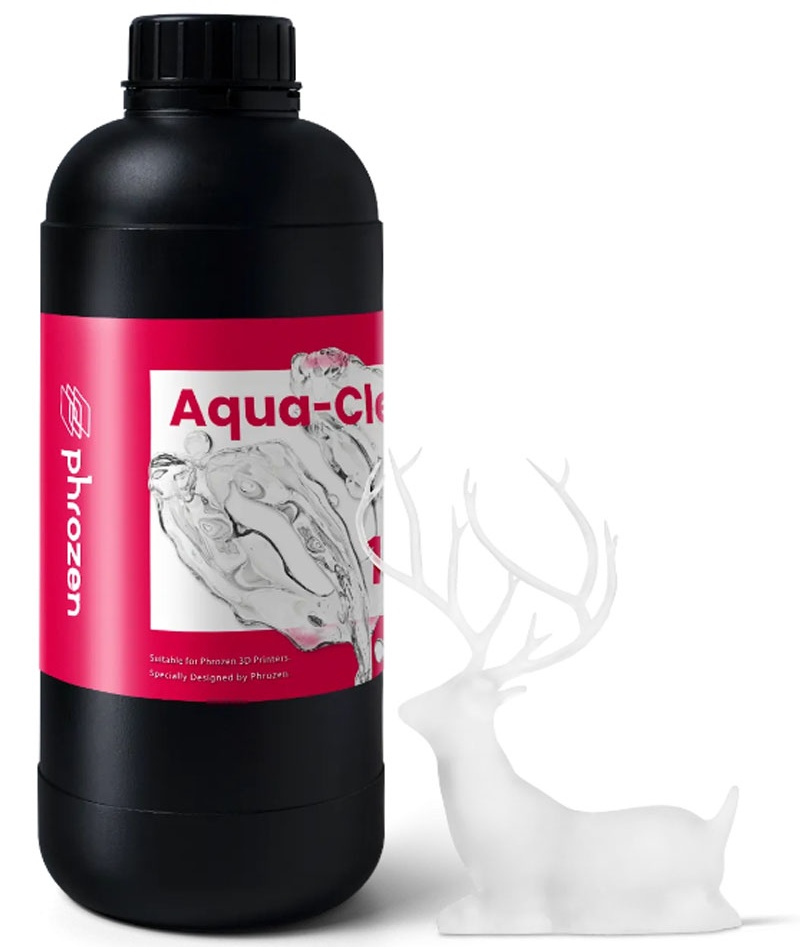
- Phrozen Aqua Clear Resin: Low viscosity, great for high-detail prints, and faster curing. Ideal for intricate designs and detailed models. Costs $55 per liter.
How to Match a Clear Resin to Your Needs
Common use cases and recommended resins:

- Optical Prototypes: Require high optical clarity, minimal layer lines, and low distortion. Recommended resins are Formlabs Clear Resin and Siraya Tech Sculpt Ultra Clear.
- Functional Engineering Parts: Need toughness, heat resistance, and durability. Siraya Tech Sculpt Ultra Clear and Phrozen Aqua Clear Resin are recommended.
- Artistic Creations: Good transparency, affordability, and ease of use are key. Elegoo Standard Clear and Anycubic Clear Resin are suitable.
- Medical and Scientific Applications: Biocompatibility and resistance to yellowing are essential. Formlabs Clear Resin (with biocompatible options) is a good choice.
Tips for Choosing the Right Clear Resin
- Test with a Sample Pack: If unsure, test small batches of resins from manufacturers offering sample packs.
- Read User Reviews: User reviews provide insights into resin performance, including clarity, durability, and ease of use.
- Check for UV Stability: Some clear resins yellow over time. For prints exposed to sunlight, choose UV-resistant resins.
- Factor in Post-Processing Effort: Consider the amount of post-processing required when selecting a resin.
Mistakes to Avoid When Selecting Clear Resins
- Ignoring Compatibility: Using an incompatible resin can lead to print failures and damage to the printer.
- Overlooking Application Requirements: Not all clear resins are suitable for all applications. Using the wrong resin for a functional prototype can result in part failure.
- Focusing Solely on Price: Budget-friendly resins may lack the necessary clarity or durability for professional projects.
Best Practices for Printing with Clear Resins
Optimize Your Printer Settings
Proper printer configuration is crucial for clear resin printing. Adjust the following settings:
- Layer Height: Use a lower layer height (e.g., 0.025–0.05 mm) to reduce visible layer lines and achieve smoother prints.
- Exposure Time: Follow the resin manufacturer’s recommendations to avoid overexposure (which causes cloudiness) or underexposure (which weakens the structure).
- Print Orientation: Orient the model to minimize support contact on visible surfaces and avoid resin trapping.
Maintain a Clean Printing Environment
Clear resins are sensitive to contaminants. Keep the workspace clean by:
- Filtering the Resin: Strain the resin before use to remove dust and cured particles.
- Cleaning the Vat and Build Plate: Thoroughly clean the resin vat and build plate before each print.
- Controlling Ambient Light: Work in a dimly lit environment to prevent premature resin curing.
Use the Right Support Structures
Support structures are necessary but can affect print clarity. Follow these best practices:
- Minimize Contact Points: Use thin, small contact points to reduce marks on transparent surfaces.
- Position Supports Strategically: Place supports on non-critical areas or those to be polished later.
- Remove Supports Gently: Use precision tools to avoid damaging the model during support removal.
Pay Attention to Post-Processing
Effective post-processing is key to achieving transparency. The steps include:
- Cleaning the Print: Rinse the print in isopropyl alcohol (IPA) to remove uncured resin, avoiding over-soaking.
- Curing: Cure the print under a UV lamp or in a curing chamber, rotating it for even curing.
- Sanding: Use wet sandpaper, starting with coarse grits and progressing to finer ones, to remove layer lines and imperfections.
- Polishing: Apply a clear polishing compound with a soft cloth or rotary tool to enhance clarity.
- Coating: Apply a clear spray or resin coating for added gloss and UV resistance.
Avoid Common Pitfalls
Avoid these mistakes during printing:
- Skipping Post-Processing: Neglecting post-processing will result in a cloudy and rough print.
- Inconsistent Layer Heights: Switching layer heights can cause uneven clarity.
- Inadequate Cleaning: Residual resin can lead to haze.
Advanced Techniques for Superior Transparency
For high-clarity projects, consider these advanced techniques:
- Vacuum Chambers: Remove air bubbles from the resin before printing.
- Polishing Machines: Use automated polishing machines for a uniform finish.
- Heat Treatment: Gentle heat can reduce internal stresses and enhance clarity in some resins.
Tools and Materials for Success
Invest in the right tools and materials:
- Isopropyl Alcohol (IPA): For cleaning uncured resin.
- Wet Sandpaper (400–3000): For smoothing surfaces.
- Polishing Compound: To enhance surface clarity.
- UV Curing Chamber: For even and thorough curing.
- Precision Tools: For removing supports without damage.
- Clear Spray Coating: For a protective and glossy finish.
Practical Example: Workflow Overview
Here’s a simplified workflow for printing a transparent lens prototype:
- Prepare the Printer: Set the layer height to 0.025 mm and adjust the exposure time.
- Print the Model: Position the lens at an angle to reduce layer lines and support marks.
- Clean the Print: Rinse thoroughly with IPA.
- Post-Process: Wet sand and polish the surface.
- Cure and Coat: Cure under UV light and apply a clear coating.
Achieving Optimal Transparency Through Post-Processing
Why Post-Processing Is Essential for Clear Resins
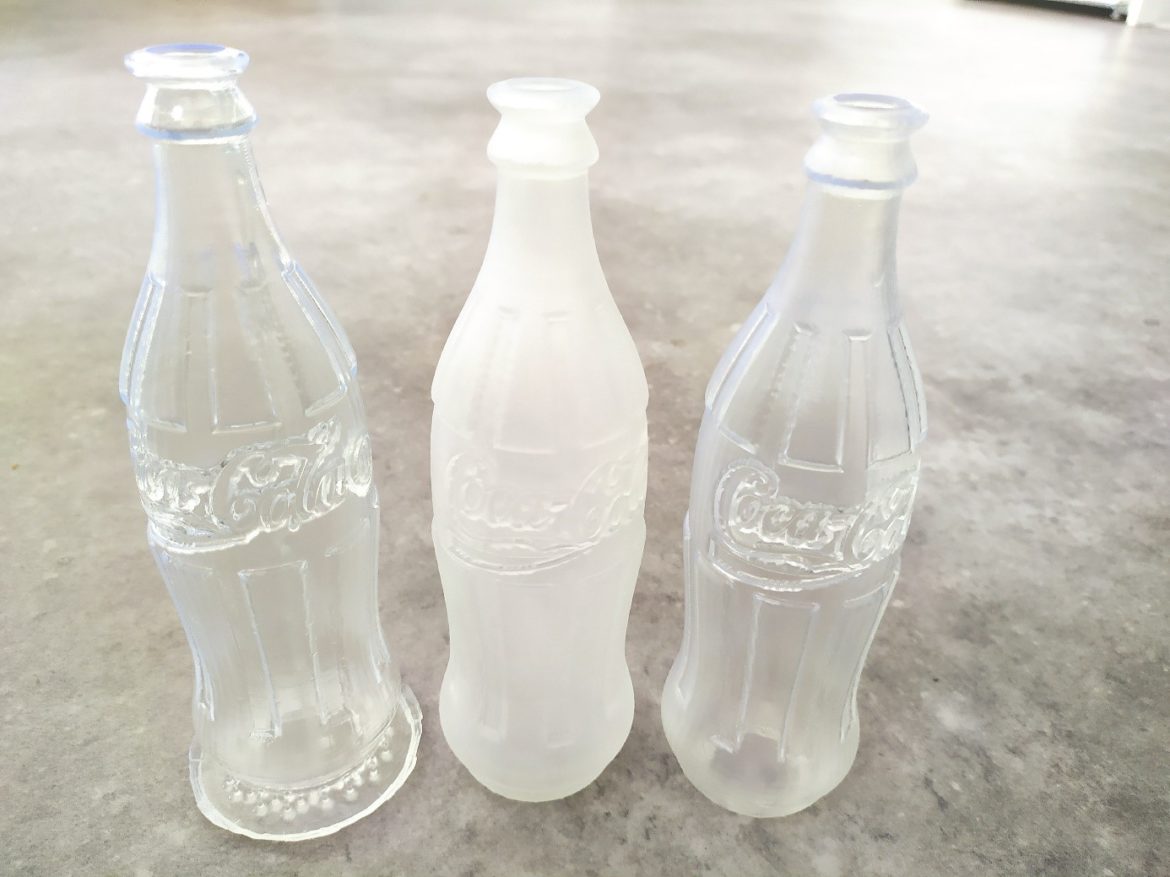
Post-processing addresses issues like layer lines, surface contamination, and incomplete curing that affect the clarity of clear resin prints. By smoothing surfaces, removing contaminants, and enhancing optical clarity, post-processing transforms the print.
Step-by-Step Guide to Post-Processing Clear Resin Prints
- Cleaning the Print
- Materials Needed: Isopropyl alcohol (IPA) ≥90%, ultrasonic cleaner or rinse container, soft brush or cotton swabs.
- Steps:
- Initial Rinse: Submerge the print in IPA immediately after printing to dissolve uncured resin, agitating gently.
- Brush Residual Resin: Use a soft brush to clean crevices.
- Final Rinse: Rinse again in clean IPA and let dry.
- Curing the Print
- Materials Needed: UV curing chamber or UV lamp, rotating platform (optional).
- Steps:
- Position the Print: Place on a platform for even UV exposure.
- Cure Evenly: Rotate the model or use a rotating platform, following the manufacturer’s curing time guidelines.
- Sanding the Surface
- Materials Needed: Wet/dry sandpaper (400–3000), water, sanding block or holder.
- Steps:
- Start Coarse: Begin with 400-grit sandpaper to remove layer lines.
- Progress Gradually: Move to higher grits, ensuring even sanding.
- Use Wet Sanding: Minimize heat and prevent scratches.
- Inspect Frequently: Check the surface regularly.
- Polishing
- Materials Needed: Clear polishing compound, soft microfiber cloth or rotary polisher, water spray bottle.
- Steps:
- Apply Polishing Compound: Use a small amount on the sanded surface.
- Polish by Hand or Machine: Rub in circular motions or use a rotary polisher, checking clarity.
- Applying a Clear Coating
- Materials Needed: Clear UV-resistant spray or resin coating, dust-free workspace.
- Steps:
- Prepare the Surface: Ensure it’s clean.
- Apply Even Coats: Spray or brush on a thin, even layer.
- Cure or Dry: Follow the manufacturer’s instructions.
Troubleshooting Common Post-Processing Issues
| Problem | Cause | Solution |
| Cloudy Surface | Incomplete cleaning or sanding | Re-clean and restart sanding process. |
| Yellowing After Curing | Over-curing or poor resin formulation | Reduce curing time or use UV-resistant resin. |
| Scratches During Sanding | Using coarse grit for fine sanding | Switch to finer grit and wet sand. |
| Uneven Polishing | Excessive force or uneven pressure | Use consistent, gentle pressure. |
Tools Checklist for Effective Post-Processing
| Tool/Material | Purpose |
| Isopropyl Alcohol (IPA) | Cleaning uncured resin |
| Wet/Dry Sandpaper (400–3000) | Smoothing surfaces |
| Polishing Compound | Enhancing surface clarity |
| UV Curing Chamber | Even curing for durability |
| Clear Spray Coating | Adding gloss and UV protection |
| Rotary Polisher (Optional) | Speeding up the polishing process |
Troubleshooting Common Issues in Achieving Transparency
Cloudy or Hazy Surfaces
- Causes: Incomplete removal of uncured resin, over-curing or uneven curing, poor sanding or skipping polishing.
- Solutions: Thoroughly clean with high-concentration IPA, control curing time and rotate the model, wet sand with finer grits and polish.
Yellowing of the Print
- Causes: Excessive UV exposure during curing, resin formulation not optimized for UV stability, environmental exposure to sunlight or heat.
- Solutions: Reduce curing time and use controlled UV lamp, choose UV-resistant resins, apply a protective coating.
Visible Layer Lines
- Causes: High layer height settings, improper print orientation, insufficient sanding.
- Solutions: Use lower layer height, optimize print orientation, sand with coarse grits first and progress to finer ones.
Surface Imperfections
- Causes: Air bubbles in the resin, dust or debris contamination, rough handling during post-processing.
- Solutions: Degas the resin before printing, maintain a clean workspace, handle with care.
Warping or Cracking
- Causes: Uneven curing or over-curing, excessive heat or prolonged IPA soaking, structural weaknesses in the design.
- Solutions: Control curing parameters, avoid prolonged IPA exposure, reinforce the design.
Resin Residue After Cleaning
- Causes: Incomplete removal of uncured resin, over-saturating the cleaning solution.
- Solutions: Rinse thoroughly in clean IPA, replace the cleaning solution regularly.
Uneven Clarity Across the Model
- Causes: Uneven curing or sanding, inconsistent print orientation.
- Solutions: Use a rotating curing platform, sand all surfaces evenly, optimize print setup.
Case Studies: Real-World Applications of Clear Resins in SLA 3D Printing
Optical Prototypes
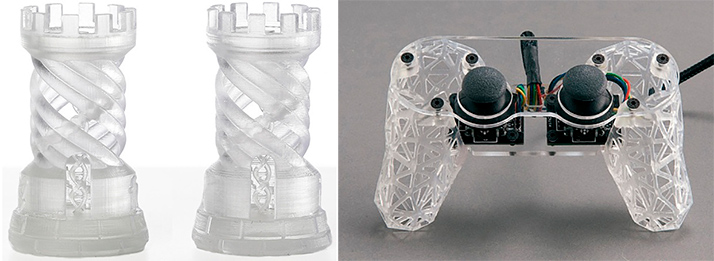
Clear resins are essential for developing optical devices like lenses, prisms, and light guides. Their high clarity and low distortion enable accurate prototyping, saving time and cost compared to traditional fabrication methods.
Transparent Enclosures
In electronics and product design, transparent enclosures made with clear resins allow for observing internal components while maintaining structural integrity. They are used for prototyping and small-batch production.
Medical Models
In the medical field, clear resins produce anatomical models, surgical guides, and prosthetics. Transparent models provide detailed views of internal structures, aiding in education and preoperative planning.
Artistic and Decorative Objects
Artists and designers use clear resins to create sculptures, jewelry, and decorative items. The material’s versatility allows for intricate details and unique visual effects.
Functional Prototypes and Engineering Parts
Clear resins are used for functional prototypes where transparency helps in understanding fluid flow, precision fit, and product demonstration.
Lighting Fixtures and Optical Designs
Custom lighting fixtures can be created using clear resins. Designers can experiment with shapes and textures to achieve unique light diffusion effects.
Sustainability and Maintenance: Clear Resins and Eco-Friendly Practices
Reducing Resin Waste
To minimize resin waste:
- Plan Your Prints: Optimize model placement and supports, hollow out large models using slicing software.
- Reuse Excess Resin: Pour unused resin back into the bottle through a filter and mix with fresh resin.
- Batch Printing: Print multiple models at once.
Recycling and Disposal of Clear Resins
- Cure Resin Waste: Fully cure leftover resin before disposal.
- Dispose of IPA Properly: Evaporate used IPA, cure the residue, and dispose of it as solid waste. Check local regulations for chemical recycling options.
- Recycle Resin Containers: Clean and recycle empty resin bottles if possible.
Printer Maintenance for Longevity
- Daily Maintenance: Clean the build plate with IPA after each print and inspect the resin vat.
- Periodic Maintenance: Replace the FEP film when necessary, clean the optics, and calibrate the printer regularly.
Eco-Friendly Alternatives
- Biodegradable Resins: Some manufacturers offer clear resins made from biodegradable polymers.
- Recyclable Resin Vats: Opt for recyclable resin vats.
- Energy-Efficient Printers: Look for printers with lower power consumption.
Sustainability Tips for SLA Printing
- Use Digital Prototyping: Refine designs digitally to reduce physical prototypes.
- Store Resin Properly: Keep resin in a cool, dark place.
- Repurpose Failed Prints: Use failed prints for other purposes like sanding blocks.
- Print Only What You Need: Avoid unnecessary printing.
Comparing Costs and Savings
| Action | Upfront Cost | Long-Term Savings |
| Investing in durable resins | Higher initial cost | Fewer replacements needed, less waste |
| Using biodegradable options | Slightly more expensive | Reduces environmental disposal costs |
| Maintaining printer regularly | Minimal | Extends printer lifespan, avoids repairs |
The Future of Clear Resins in SLA 3D Printing
Advancements in Resin Formulations
Manufacturers are improving clear resin formulations. Key areas include enhanced clarity approaching glass quality, better UV stability to prevent yellowing, and increased strength and durability. Emerging innovations involve low-viscosity resins for smoother prints and bio-based resins for sustainability.
Integration with New SLA Technologies
New SLA hardware developments like higher resolution printers, advanced curing systems, and self-cleaning resin vats will enhance the performance of clear resins, reducing the need for extensive post-processing and improving print quality.
Expanding Applications
The demand for clear resins is growing in various industries. In medicine, transparent prosthetics and biocompatible resins for implants are expected. Aerospace and automotive may use them for lightweight, transparent components. Consumer electronics could benefit from transparent casings and optical components for AR/VR devices. Architecture and design may incorporate custom transparent panels and artistic installations.
Automation and Workflow Optimization
Automation tools such as automated post-processing stations, AI-driven slicing software, and integrated monitoring systems will simplify workflows, making clear resin printing more efficient and scalable.
Sustainability and Environmental Impact
The future will focus on reducing the environmental footprint of clear resins. This includes recyclable resin formulations, eco-friendly packaging, and energy-efficient printers.
Collaboration Across Industries
Cross-industry collaboration will drive the development of new materials and applications. Partnerships between resin manufacturers and healthcare providers, automotive companies with 3D printing experts, and artists with engineers will lead to innovative uses of clear resins.
Challenges and Opportunities
Challenges include high R&D costs, limited sustainable resin options, and technical limitations in achieving perfect clarity. Opportunities lie in increased accessibility for small businesses and hobbyists, continuous innovation in resin chemistry, and growing interest from various industries.
What the Future Holds: A Look Ahead
| Trend/Innovation | Impact on SLA Printing with Clear Resins |
| Next-Gen Resins | Improved clarity, durability, and UV stability for diverse applications |
| AI-Enhanced Printing | Faster, smarter workflows with minimal waste |
| Eco-Friendly Materials | Reduction in environmental footprint for sustainable manufacturing |
| Advanced Post-Processing Tools | Automation of polishing and curing for streamlined production |
| Industry Integration | Broader adoption across sectors like healthcare, aerospace, and art |
In conclusion, clear resins for SLA 3D printing have a promising future with continuous advancements in materials, technology, and applications, while also addressing sustainability concerns.


